
Flows
import { Aside } from ‘@astrojs/starlight/components’;
Flows are the core configuration of your automations. A Flow names a trigger, picks where it runs, and defines what executes and what happens next.
The Flows screen
Section titled “The Flows screen”Navigate to Flows in the sidebar — one screen for everything:
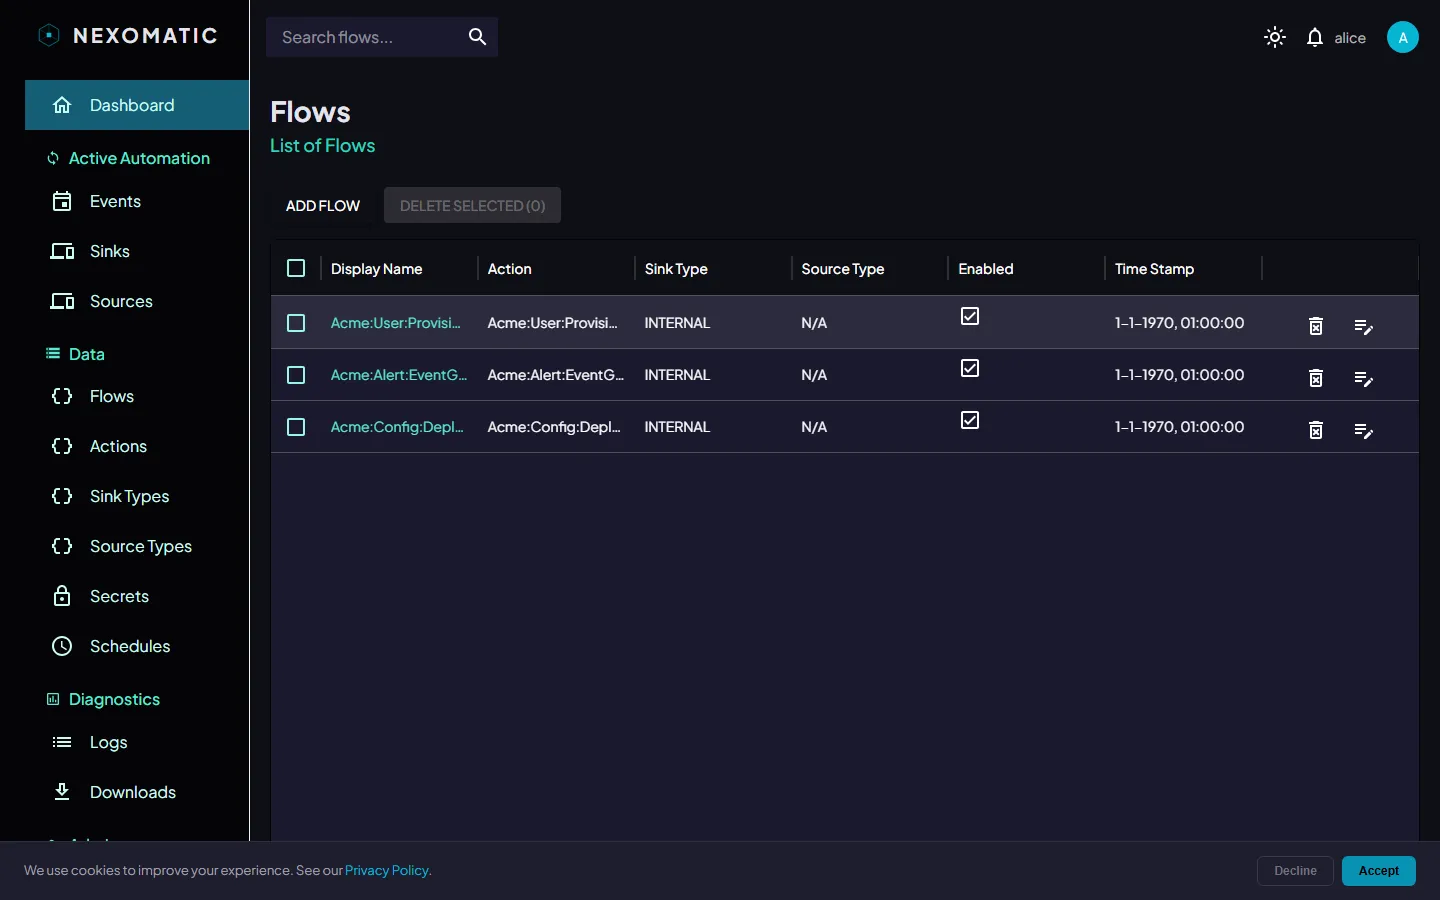
If you have no flows yet, the screen walks you through creating your first one.
What is a Flow?
Section titled “What is a Flow?”A Flow is a named definition that ties together:
- The source type that is allowed to fire it (the trigger)
- The sink type that will execute the task (the target)
- The action that runs when the event dispatches
- The chain — what runs next when the action succeeds or fails
One Flow can be triggered many times. Each trigger creates a new Event.
The Flows Table
Section titled “The Flows Table”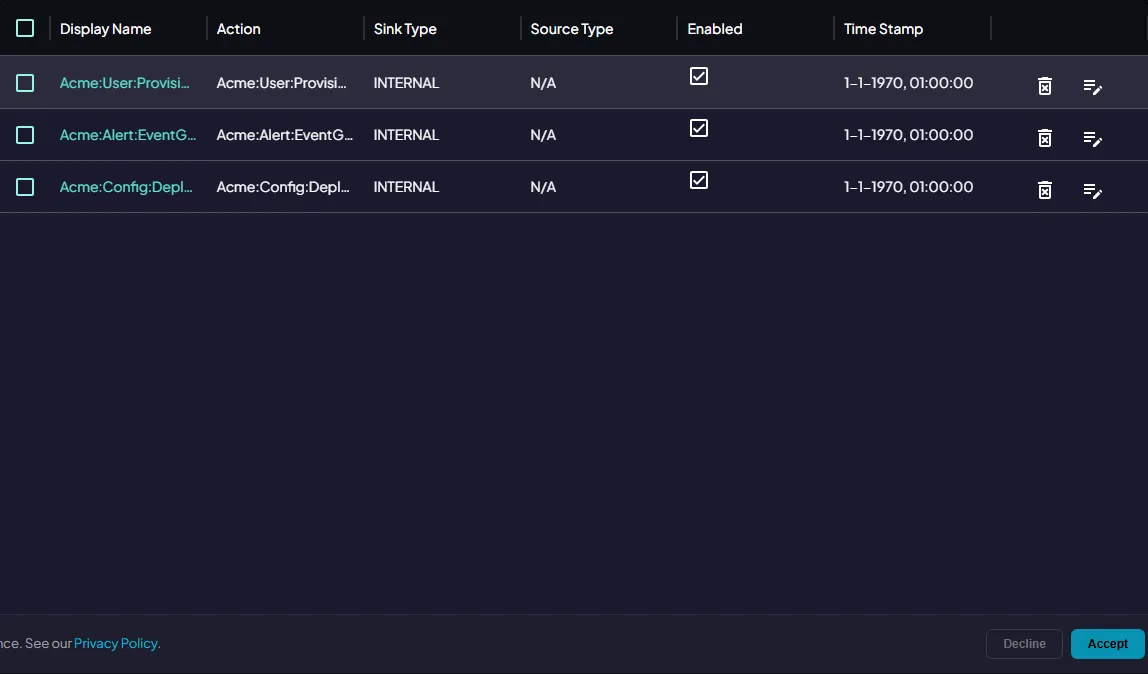
| Column | Description |
|---|---|
| Display Name | The name used when a source fires this flow |
| Action | The linked Action (module + parameters) |
| Sink Type | Which kind of sink agent executes this |
| Source Type | Which kind of source is allowed to trigger this |
| Enabled | Whether this flow is active |
Use the Search field in the topbar to filter the table by name, action, or type.
Creating or editing a Flow
Section titled “Creating or editing a Flow”Click Add Flow (or the edit icon on a row) to open the flow editor. It has five sections:
Basics
Section titled “Basics”The flow name and an Enabled toggle.
Trigger — source type
Section titled “Trigger — source type”Pick the source type that may fire this flow. If you don’t have a suitable one yet:
- Use a platform template — copy a platform source template and use the copy
- Create source type — type a name and create one right here
Target — sink type
Section titled “Target — sink type”Pick the sink type that executes the flow. Same inline options: copy a platform template or create a new type on the spot.
Action
Section titled “Action”Select an existing reusable action, or Create a new action inline — give it a name and pick a module. The module choices come from libraries attached to the chosen sink type, labeled <library> / <module>.
Chain — what happens next
Section titled “Chain — what happens next”Once the flow is saved, the chain section lets you define what happens after each action:
- Add link — when action finishes with success or failure, run next action
- Fan-out — add several links for the same outcome; they run in the order listed (use the arrows to reorder)
- Runs on — defaults to auto (the flow’s sink type). Pick another sink type for steps that need a different machine
- Save chain — persists your changes (the button shows a * when there are unsaved edits)
The editor validates as you go: a link whose next action isn’t available on its target sink type is rejected with an explanation.
Tracing runs
Section titled “Tracing runs”Each event row shows its Run badge (click to filter the Events screen to the whole run) and its Parent for chained events. Fan-out branches all share the run id, so a pipeline reads as one thread across Events and Logs.
Next Steps
Section titled “Next Steps”- Actions & Libraries — the execution layer: libraries, modules, actions, and chaining
- Core Concepts — detailed definitions of all entities
- Sinks & Sources — where types and instances are managed