
Users & Settings
import { Aside } from ‘@astrojs/starlight/components’;
The Users and Settings screens are available to Admins. Access them from the bottom of the sidebar.
User Management
Section titled “User Management”Navigate to Users in the sidebar.
The Users screen shows all members of your organisation. Admins can invite new members, change roles, and remove users.
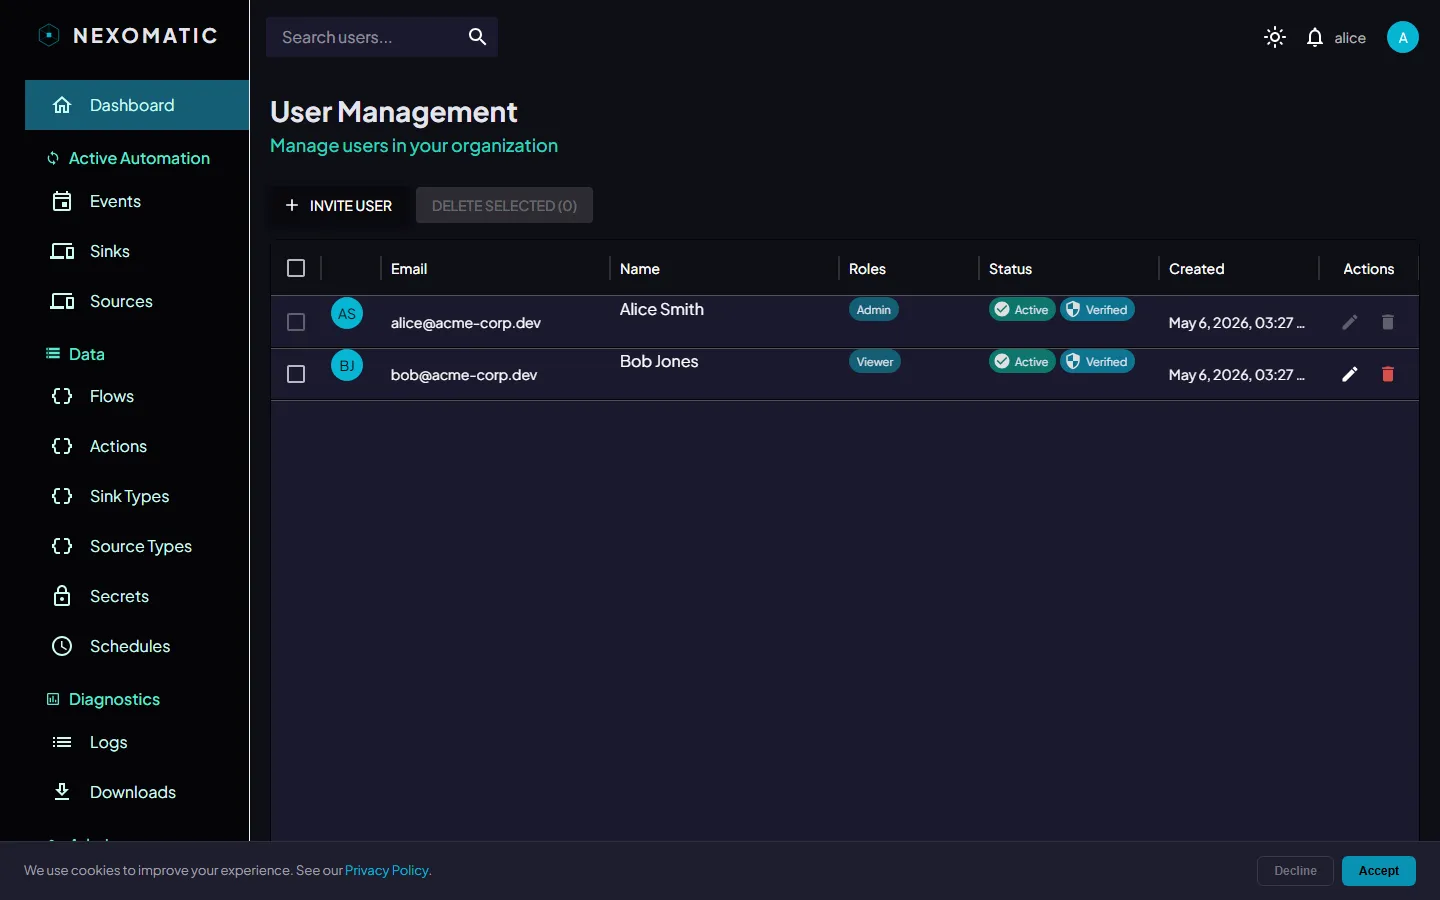
The Users Table
Section titled “The Users Table”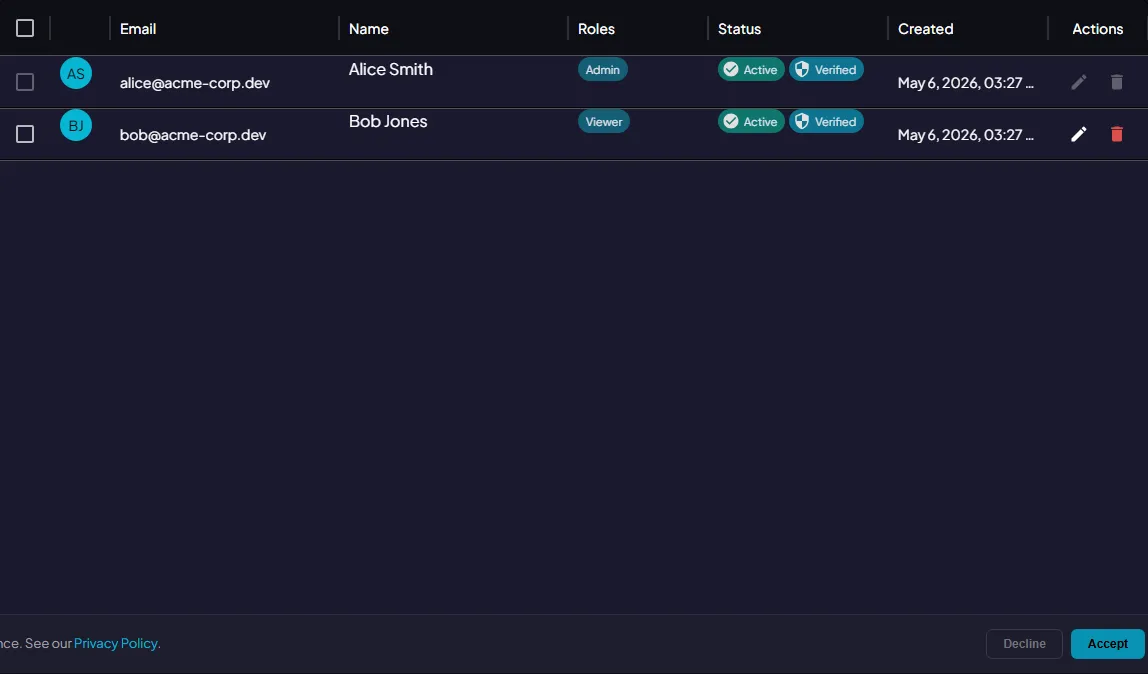
| Column | Description |
|---|---|
| Name | User’s display name |
| Account email address | |
| Role | Assigned role(s) |
| Verified | Whether the user has confirmed their email address |
| Active | Whether the account is enabled |
User Detail
Section titled “User Detail”Click the edit icon on a user row to open the detail panel.
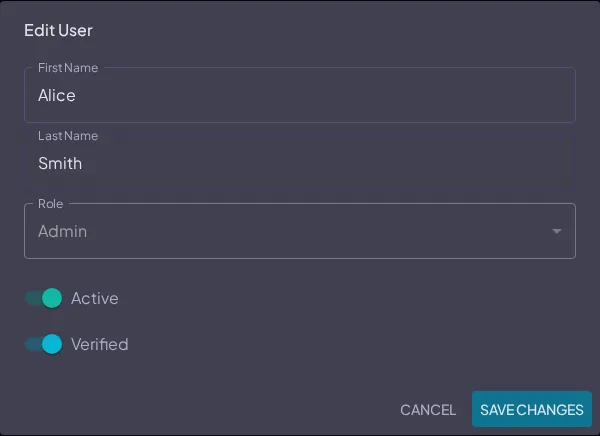
Here you can view the user’s full profile and change their role.
Inviting a User
Section titled “Inviting a User”Click Invite User. Enter the recipient’s email address and select a role from the dropdown. Click Send Invite to dispatch the invitation.
The invitee receives an email with a registration link. When they register, they are added to your organisation with the role you selected. You can change their role at any time.
Role selection at invite time lets you onboard users with the right permissions immediately — no need to invite as Viewer first and then promote.
Managing Pending Invites
Section titled “Managing Pending Invites”Sent invites appear in the users table with an Invited status. You can:
- Resend an invite if the original link expired or was lost
- Revoke an invite to cancel it before the recipient registers — the link becomes invalid immediately
- Copy the invite link to share it through another channel
Invite Token Validation
Section titled “Invite Token Validation”When a recipient clicks the registration link, the system validates the invite token. If the token is valid and not expired, the recipient proceeds to the registration form. If the token is invalid (revoked, expired, or already used), the system shows an error explaining the issue.
Admins are not billed for a seat until the invite is accepted and the user registers.
Changing a User’s Role
Section titled “Changing a User’s Role”Click the edit icon on a user row. Select the new role from the Role dropdown and save.
| Role | Permissions |
|---|---|
| Viewer | Read-only access to all resources |
| Admin | Full read/write access; can manage users and settings |
Removing a User
Section titled “Removing a User”Click the delete icon on a user row and confirm. The user can no longer log in or access any resources.
Settings
Section titled “Settings”Navigate to Settings in the sidebar.

The Settings screen is divided into sections:
Security
Section titled “Security”- Change Password — update your account password. Enter your current password, then your new password twice.
Notifications
Section titled “Notifications”Configure notification preferences for your account (e.g. email alerts for task failures).
Account
Section titled “Account”Options for managing your account, including account deletion. Deleting your account is permanent and cannot be undone.
Profile
Section titled “Profile”Navigate to the account menu (top-right corner) and select Profile.
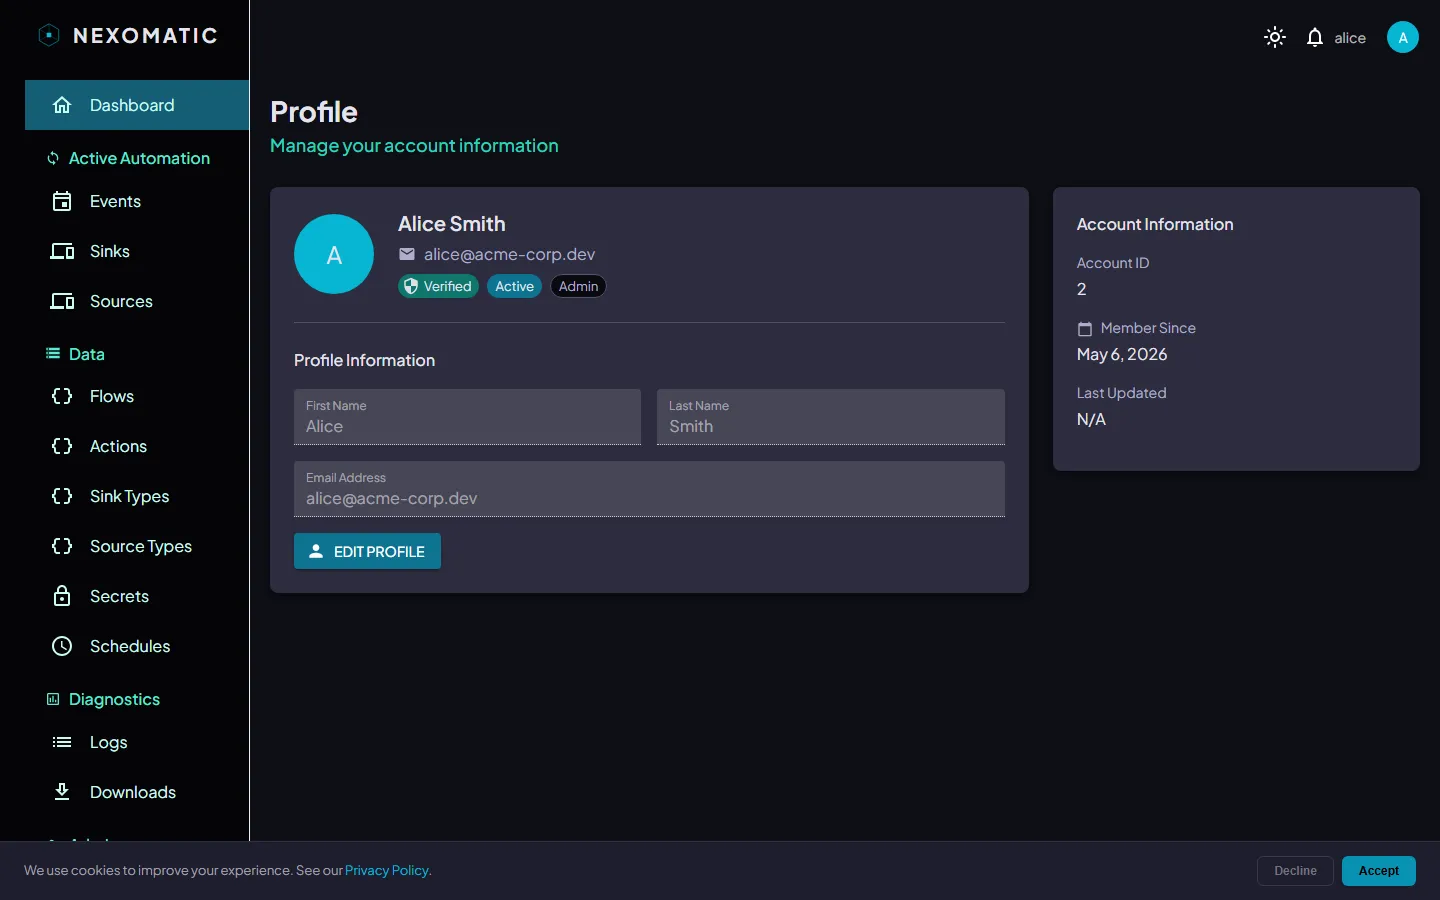
The Profile screen shows your display name, email address, and assigned role(s).
Password Reset
Section titled “Password Reset”If you forget your password, click Forgot password? on the login screen. Enter your email and click Send Reset Link. You will receive an email with a link to set a new password (expires after a short period).